
From first conversation to first kilowatt.
Going solar involves eight phases, four government or utility approvals, and a stack of paperwork most homeowners never see. Here is exactly how it runs, who handles each piece, and how long each one honestly takes.
0 phases
From consultation to switch-on
0 day
Typical time on your roof
0 permits
That you file yourself
0 manager
Your single point of contact
Eight phases, and who owns each one
Most of this happens without you lifting a finger. We have marked every phase with who is responsible so you know exactly when your attention is actually required.
Day 1
Consultation & savings model
We pull twelve months of your actual utility usage, model your roof from aerial imagery, and build a production and payback projection against your specific tariff — not a national average. You see the real numbers before anyone asks you to sign anything.
- 12 months of usage analysed
- Shading and roof-pitch modelled
- Financing options compared side by side
Week 1
Site survey
A technician visits to measure the roof, inspect the deck and rafters, photograph your main service panel, and confirm your electrical capacity. This is where we catch what satellites cannot: a soft rafter, an undersized bus bar, a vent in exactly the wrong place.
- Structural condition assessed
- Main panel and bus bar rated
- Roof life expectancy confirmed
Weeks 1–2
Engineering & design
Our in-house engineers produce stamped structural and electrical drawings for your address: panel layout, string design, attachment spacing, and wind and snow load calculations. You approve the final layout before a single component is ordered.
- Stamped structural drawings
- Wind and snow load calculated locally
- You approve the layout in writing
Weeks 2–5
Permits & utility application
We file the building permit, the electrical permit, your HOA application where one is required, and your utility interconnection request. This is the longest and least predictable phase of any solar project — and it is entirely ours. You file nothing.
- Building & electrical permits filed
- HOA submission handled
- Utility interconnection requested
1 day
Installation
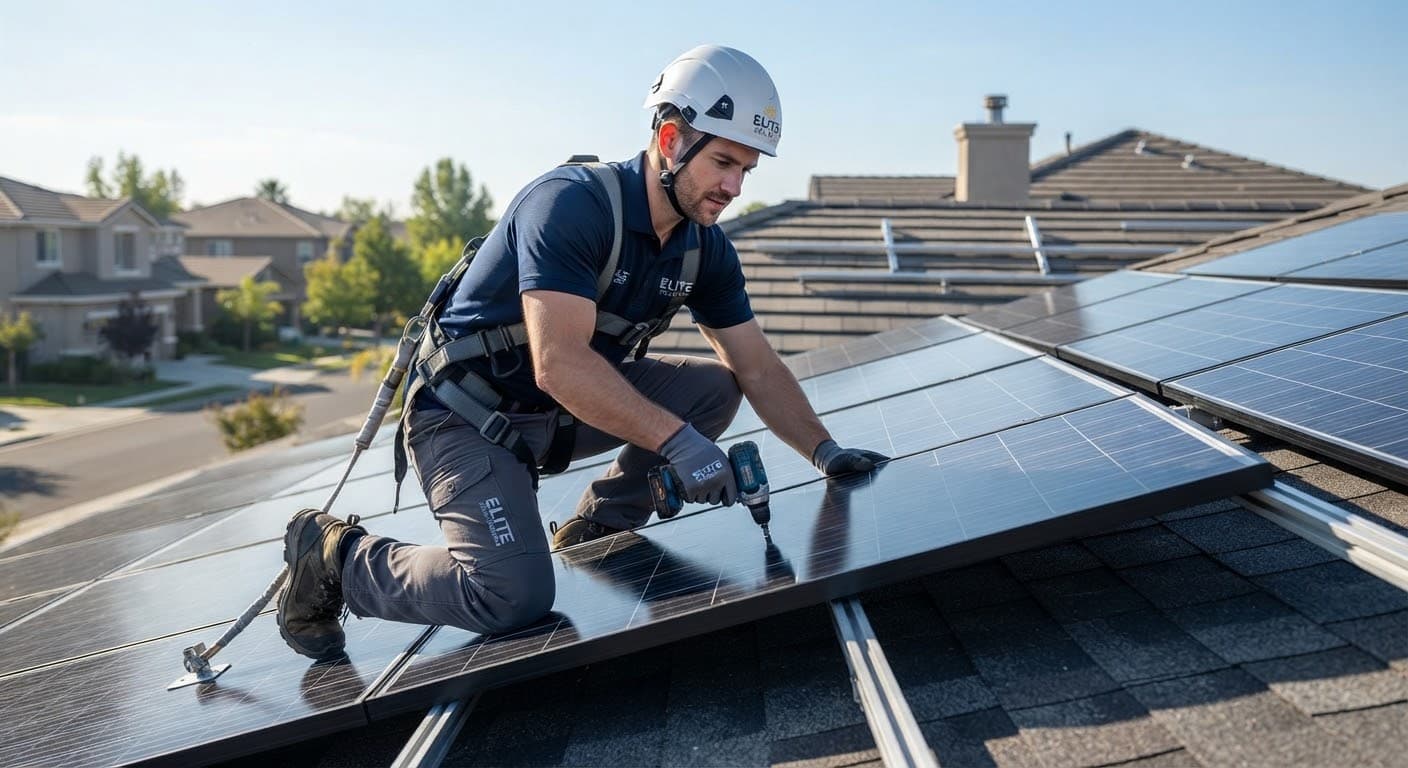
Crews arrive in the morning, set fall protection, flash and seal every roof penetration, square the racking, land the panels, and tie into your main service panel. Most homes are finished, swept, and cleaned up the same afternoon.
- Every penetration flashed and sealed
- NABCEP-certified crew leads
- Site cleaned and magnet-swept
Weeks 5–7
Inspection
Your local building and electrical inspectors sign off on the completed work. If anything is flagged, we correct it and re-schedule at our own cost — which is precisely why our crews build to inspection standard rather than to code minimum.
- Municipal inspection scheduled by us
- Corrections at our cost, never yours
- Documentation filed on your behalf
Weeks 6–8
Permission to operate
Your utility grants Permission to Operate and installs a bidirectional meter that measures both what you draw and what you export. We commission the system, walk you through the monitoring app, and switch it on with you standing there.
- Bidirectional meter installed
- Net metering account activated
- Commissioning walkthrough with you
For the life of the system
Monitoring & service
We watch production at the individual panel level, around the clock. If output drifts outside its expected band, our service team is alerted and contacts you — usually well before you would have noticed anything unusual on a bill.
- Panel-level production monitoring
- Proactive service alerts
- 25-year workmanship warranty
Typical total: four to eight weeks from signed agreement to switch-on. Permitting and utility queues drive most of the variation, and your project manager gives you a dated schedule after the site survey.
You do three things. We do the other twenty.
This is the honest split of work on a residential solar project. We are not being modest about our side of the list.
Your part
03
- Approve your system design
- Be home on installation day
- Flip the switch with us
Total time required of you across the entire project: roughly one afternoon.
Our part
0
- Utility usage analysis
- Roof and shading model
- Financing coordination
- On-site structural survey
- Stamped engineering drawings
- Wind & snow load calculations
- Building permit
- Electrical permit
- HOA submission
- Utility interconnection request
- Equipment procurement
- Installation & flashing
- Municipal inspection scheduling
- Any inspection corrections
- Permission to operate filing
- Net metering enrolment
- SREC registration where applicable
- Incentive & rebate paperwork
- System commissioning
- Panel-level monitoring, for life
What installation day looks like
A typical single-day residential install. Larger arrays and battery installations run into a second day, which your project manager confirms before the crew is scheduled.
What we commit to, in writing
One project manager
The same person from your site survey through switch-on. You will never be handed to a queue or asked to re-explain your project.
25-year workmanship warranty
Covering the array and the roof where we worked. If a mount we installed ever leaks, we repair the roof as well as the mount.
Fixed price, no change orders
The number on your agreement is the number you pay. If our survey missed something, absorbing it is our problem, not your invoice.
Production guarantee
If your system underperforms its modelled production, we diagnose and correct it — parts and labour — for the life of the warranty.
Still have questions about how the process works in your jurisdiction? Our FAQ covers financing, net metering, roofing, and long-term maintenance in detail.
Read the FAQStart with the numbers
The first phase costs nothing and commits you to nothing. We will model your roof, your usage, and your tariff, and show you what the next eight weeks would actually look like.